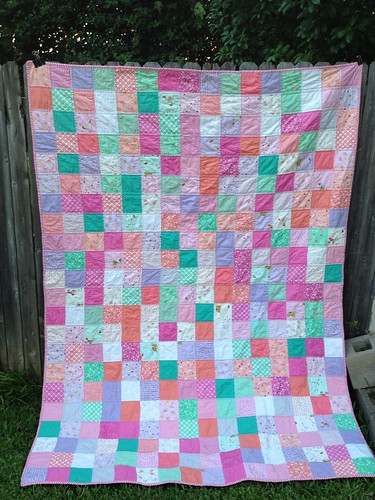
Materials:
8 3.5" squares of Color A
8 3.5" squares of Color B
*note* these are the essential materials for each block, so you can cut several blocks worth of fabric at once to save time!
8 3.5" squares of Color A
8 3.5" squares of Color B
*note* these are the essential materials for each block, so you can cut several blocks worth of fabric at once to save time!
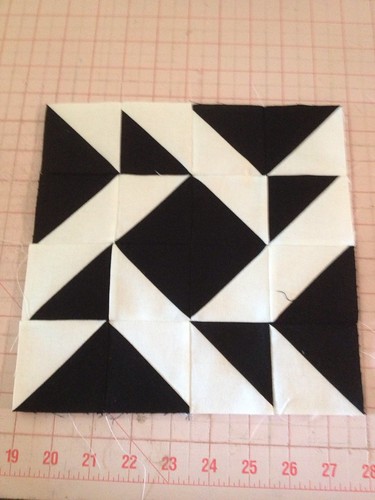
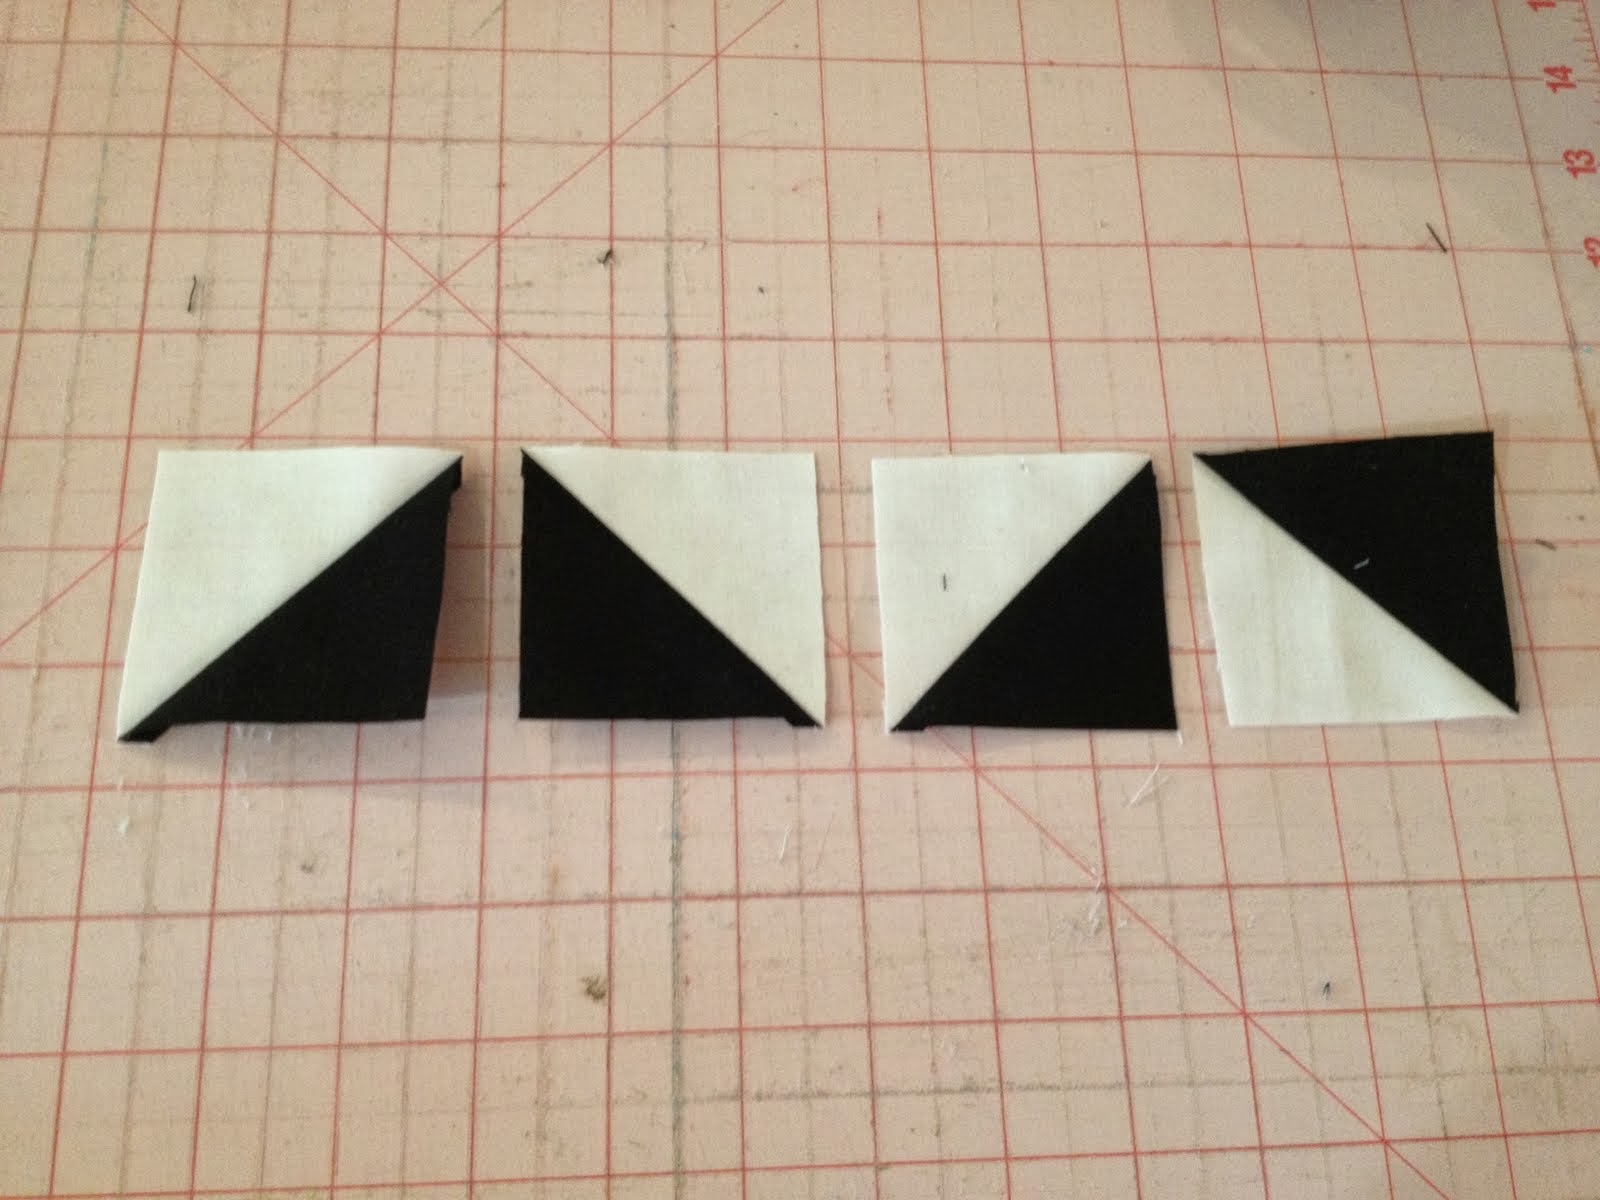
Create your blocks, following the same procedure as last week. If you need help making your blocks, please see this post. You should end up with 16 2.5" squares. Ready to lay out your block? Here we go!

ROW 1

ROW 2

ROW 3
ROW 4
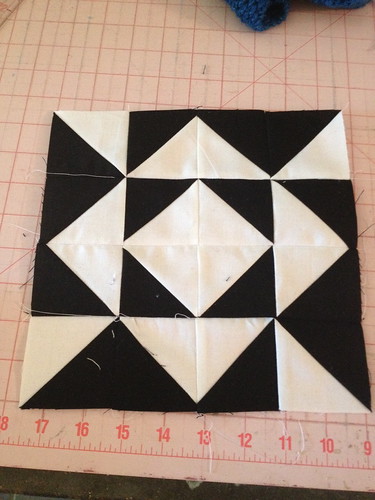
After pressing, you are ready to sew your rows together! Pin, if necessary, but I find that these short rows don't require pinning.
Press one final time, and voila! Another finished block! Only 16 to go! Remember to add your blocks to our flickr group!
Please, if you have questions, email me at knitnlit AT gmail DOT com, or make sure you leave your email address in your comment. I've had several folks ask questions in the comments, but if you are a no-reply commenter, I can't email you back.
Please, if you have questions, email me at knitnlit AT gmail DOT com, or make sure you leave your email address in your comment. I've had several folks ask questions in the comments, but if you are a no-reply commenter, I can't email you back.